Last updated November 17, 2026








Free written scope consultation - allowances, timeline, and change-order rules on paper before a single trade is scheduled
Bathroom Remodeling Troubleshooting: Common Problems and How to Fix Them
Grout cracking along the joint where your tile meets the tub isn’t a grout problem. It’s a movement joint problem. That single misdiagnosis is why homeowners re-grout the same line three times, watch it split again within a year, and never get to the actual fix. In our experience working bathrooms across Sunrise Manor, the same pattern holds for almost every problem that surfaces after a remodel wraps: the symptom you see is rarely the failure that caused it.
This guide gives you a diagnostic framework. Four root causes sit behind nearly every post-completion bathroom problem, and once you identify which one you’re looking at, the repair path and the responsibility question both get clearer. You’ll learn how to read the symptoms, how to document what you find before you call anyone, and what a workmanship guarantee should actually cover.
Quick Answer
Most bathroom remodeling problems that appear months after completion trace back to one of four installation failures: substrate failure, waterproofing failure, movement joint omission, or fixture rough-in error. Each produces a distinct set of visible symptoms, so you can usually narrow down the cause without opening a wall. Documentation with photos and a written description determines who is responsible for the repair and whether your workmanship guarantee applies.
Styles & brands we work with
- Kitchen remodeling
- Bathroom remodeling
- Home additions & ADU
- Roofing
- Windows & doors
- Driveway & pavers
- Fence
Table of Contents
- The Four Root Causes Behind Almost Every Bathroom Problem
- Substrate Failure: The Foundation Under Your Tile
- Waterproofing Failure: When the Barrier Was Never There
- Movement Joint Omission: Why That Crack Keeps Coming Back
- Fixture Rough-In Error: The Invisible Problem
- Soft Floor Around the Toilet: Why You Can’t Defer It
- How to Document a Problem Before You Call
- What a Written Workmanship Guarantee Should Cover
The Four Root Causes Behind Almost Every Bathroom Problem
Before you start poking at a symptom, understand the four failure categories that produce nearly all post-remodel bathroom problems. Knowing which category you’re dealing with tells you whether the fix is cosmetic, structural, or a safety issue that can’t wait.
1. Substrate failure. The layer under your tile – the backer board or mortar bed – was wrong for the application, installed without proper fastening, or compromised by moisture. Symptoms: tiles that sound hollow when tapped, tiles that move slightly underfoot, cracks that travel in a straight line or follow a seam pattern.
2. Waterproofing failure. The moisture barrier behind the tile or under the floor was missing, punctured during installation, or applied incorrectly. Symptoms: efflorescence (white crusty deposits), dark staining on grout that returns after cleaning, water showing at the ceiling of the room below, a musty smell that doesn’t go away with ventilation.
3. Movement joint omission. Tile and grout are rigid. The house is not. Where two different materials or planes meet, a flexible joint is required. Symptoms: cracks confined to corners, the tub-to-tile line, or the wall-to-floor transition – typically recurring in the exact same spot.
4. Fixture rough-in error. The plumbing behind the wall or under the floor was set at the wrong depth, at the wrong angle, or without proper support. Symptoms: a toilet that rocks, a shower valve that drips, water pooling toward the wrong side of the drain, a supply line that hums.
Most homeowners in Sunrise Manor see the symptom and call it by the wrong name. A cracked corner is called “settling.” A recurring stain is called “hard water.” Naming it correctly is the first step toward getting it fixed for good.
Substrate Failure: The Foundation Under Your Tile
Substrate failure means the surface your tile is bonded to has failed or was never built right. It’s the most serious of the four categories because it compromises the entire floor or wall assembly, not just one tile.
You can often tell substrate failure from cosmetic cracking without opening anything. Here’s how to tell the difference:
- Tap test. Use the handle of a screwdriver or a coin and tap across the floor tiles in a grid pattern. A solid, dense click means good bond. A hollow, flat sound means the tile has debonded from the substrate underneath – a strong sign of substrate problems.
- Look for pattern. Cosmetic cracks are usually random hairlines in grout only. Substrate cracks travel in straight lines, follow backer board seams, or form a pattern that mirrors how the panels were laid.
- Check for movement. Press down firmly on a suspect tile with your foot. Any perceptible give or rock means the substrate isn’t supporting it. That’s structural, not cosmetic.
- Follow the grout line. If grout is cracked in a long continuous line across the floor – not just isolated spots – it’s tracking a substrate joint.
What causes it? In our experience, the most common culprits are backer board installed over a flexible subfloor without adequate thickness, panels fastened only at the edges instead of every 6 to 8 inches along all studs, and cement board laid over particleboard or a previous layer of vinyl. In Sunrise Manor’s dry heat, expansion and contraction cycles are significant, and a marginal substrate that would hold up in a more humid climate can fail faster here.
Substrate repair is not a patch job. It requires removing the affected tile, assessing the backer board, and rebuilding to spec. If the substrate was wrong from day one, the fix is to redo it correctly. There’s no sealant or crack-filler that corrects a structural failure.
Waterproofing Failure: When the Barrier Was Never There
Waterproofing failure doesn’t announce itself the way a cracked tile does. It hides. By the time you see it, water has usually been migrating for months.
Here’s what to look for:
- White, powdery or crusty deposits on grout or tile edges – efflorescence. This is salt pushed to the surface by moisture traveling through the assembly from behind.
- Grout that darkens after every shower and stays dark, even after cleaning and drying time.
- A persistent musty or earthy smell in the room, particularly after the bathroom has been unused for a day or two.
- Soft spots or staining on the ceiling of the room directly below the bathroom.
- Loose tiles near the shower floor, tub edge, or a shower niche.
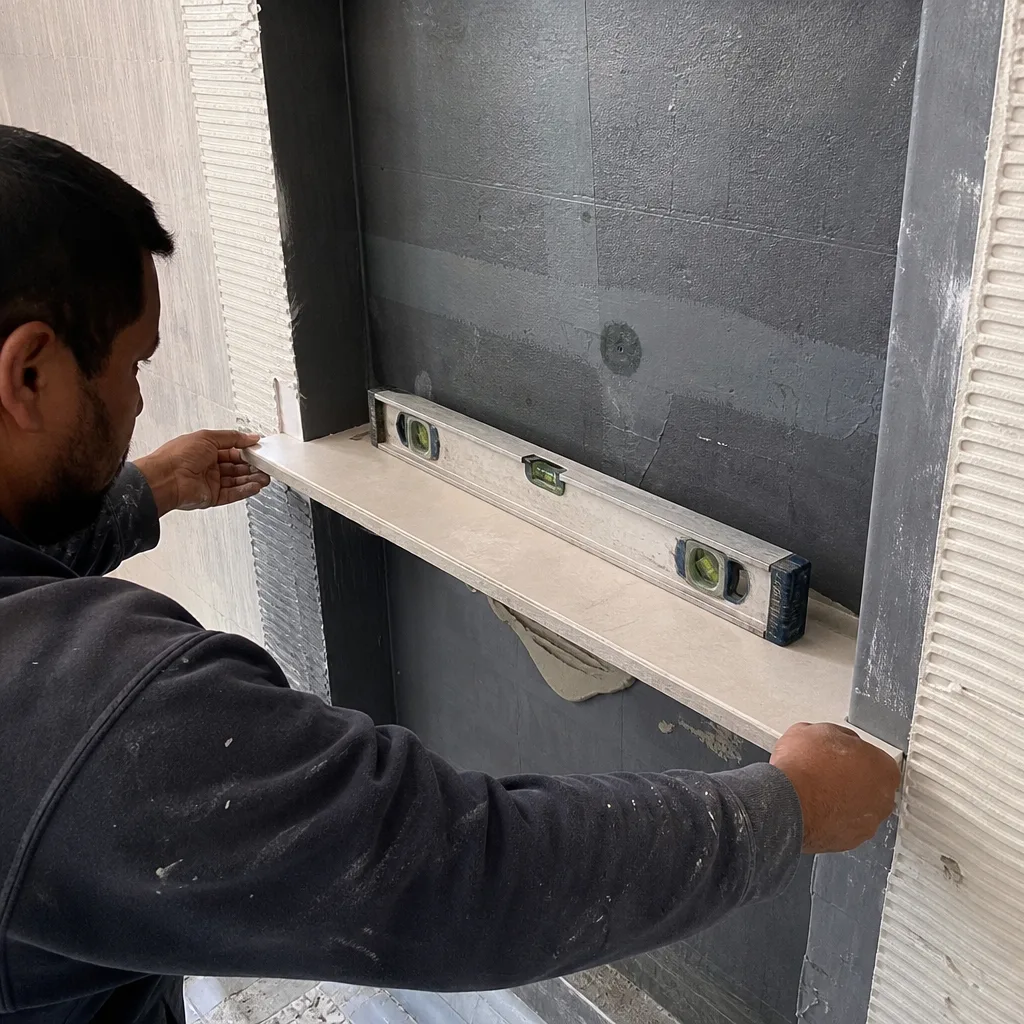
A shower niche is one of the most common points of failure. Niches are built into the wall cavity and require careful membrane work around every edge. A missed pinhole or a staple through the membrane during tile installation can let water into the wall cavity for years before it shows up as staining on the adjacent room’s drywall.
Testing without demolition: tape a square of plastic sheeting over a suspect area – a shower floor corner or the edge of a niche – and tape all four sides tight. Leave it 24 hours, then check for condensation on the underside of the plastic. That points to water evaporating from inside the assembly, not the surface.
Waterproofing failures cannot be resealed from the surface. Epoxy grout, silicone, and “miracle” sealers don’t stop water that’s already inside the wall. The fix requires removing the tile and rebuilding the waterproofing layer correctly. It’s the most invasive repair in this guide, and it’s the one most worth doing right the first time because a second failure inside the same wall means starting over.
Movement Joint Omission: Why That Crack Keeps Coming Back
This is the misdiagnosis that starts this guide, and it’s the most common one we see. Movement joints are intentional gaps fitted with flexible sealant instead of grout at every point where tile changes plane or meets a different material. Skip them and the joint cracks – not because the grout was bad, but because the grout was the wrong material in the wrong place.
The joints that require flexible sealant instead of grout:
- Where wall tile meets the tub deck, shower pan, or floor
- Inside corners where two tile walls meet
- Where tile meets a different material – a painted wall, a door frame, a vanity top
- Where the tiled floor meets the base of any wall fixture
- Expansion joints in larger floor areas (typically every 8 to 12 feet in our climate)
If you’ve re-grouted the tub-to-tile joint and watched it crack again within a year, you’ve experienced exactly this. The fix is mechanical: remove the grout from that joint, clean it out completely, and fill with a flexible sealant matched to your tile color. Not caulk. The right product is a flexible sealant rated for wet areas and movement – typically a urethane or silicone-silane blend.
One quick way to confirm a movement joint problem: if the crack only appears in corner joints and transitions and the field tile is intact, you’re looking at movement. If cracks appear in the middle of a tile field, in straight lines, or if tiles are hollow, revisit substrate failure.
In Sunrise Manor, our temperature swings add real movement. Daytime heat and nighttime cooling push and pull on the entire assembly. Homes here that skip flexible joints at transitions fail noticeably faster than the same build in a milder climate.
Fixture Rough-In Error: The Invisible Problem
Rough-in refers to the plumbing work done before the walls are closed and the tile goes on. Errors here are invisible until the fixture is installed and used, and by then correcting them means opening the wall again.
Symptoms of a rough-in problem include:
- A toilet that rocks or shifts when you sit down (often a floor flange set too high, too low, or not anchored)
- A shower valve that drips or runs hot then cold when nothing is touched
- Water pooling in the shower pan toward one corner instead of toward the drain, or draining slowly
- A faucet that hums, vibrates, or has inconsistent pressure at one fixture only
- A sink or tub drain that backs up within days of first use
Each of these has a distinct cause. A rocking toilet usually means the closet flange is set incorrectly in relation to the finished floor height – often because the rough-in was planned before the tile thickness was known. A dripping shower valve is frequently a cartridge installed wrong or a valve body not set to proper depth. Slow water in a shower pan usually comes down to the drain assembly being set slightly off-level at installation.
One non-negotiable: no bathroom rough-in should be closed behind a wall without an inspection. In Sunrise Manor, we pull permits on bathroom work that involves moving plumbing, and the rough-in inspection exists for exactly this reason. If you’re troubleshooting a problem and can’t confirm the work was inspected, that’s a red flag worth taking seriously.
A rocking toilet is also a floor problem, not just a plumbing one. That leads directly to the next section.
Soft Floor Around the Toilet: Why You Can’t Defer It
A spongy, soft, or give-under-foot floor around the base of the toilet is almost always a sign that water has reached the subfloor. It is not cosmetic. It is not “settling.” It’s a structural problem that can become a safety problem.
Here’s what’s happening: the toilet is designed to have a watertight seal at the base between the bowl and the closet flange – the wax ring or comparable seal does that work. If that seal was installed at the wrong height, compressed badly, or never seated correctly, water leaks from every flush. Over time, that water gets under the tile and into the plywood subfloor. Plywood loses structural strength quickly when it stays wet. The softness you feel from above is decayed or delaminating wood below.
Why you can’t put it off:
- It gets worse. Continued use of the toilet sends more water in. A floor that felt just slightly soft can become genuinely unsafe within months.
- It spreads. The moisture wicks through the subfloor in all directions. A small soft spot today can extend under the vanity or into the wall framing if it keeps going.
- It can drop. A toilet that loses floor support can shift, break the flange, and send a much larger volume of water into the floor assembly.
- Mold follows. Wet subfloor in a bathroom is a favorable environment for mold growth – you may see or smell it in adjacent rooms before you see it in the bathroom.
To confirm the cause: shut off the water to the toilet, flush and empty the tank, then check under the base with a flashlight. Look for staining on the floor around the toilet’s base, and check whether the floor is level by laying a straightedge across it. If the floor is soft and the toilet rocks, the seal likely failed and the subfloor needs to be assessed and replaced as part of the repair.
This is the failure type most worth calling a professional about promptly. Not because the fix is complicated, but because the longer you wait, the larger the floor area that has to be opened.
How to Document a Problem Before You Call
What you do with a camera and a notebook before your first call tells you a lot about how the repair will go. Documentation determines your leverage when you’re asking a contractor to honor a guarantee, and it determines whether the conversation about responsibility even gets started.
Here’s how to document properly:
- Photograph wide first, then tight. One wide shot showing the whole room context, then close-ups of the problem area. The wide shot matters because it proves what part of the bathroom you’re talking about – an adjuster or a contractor can tell at a glance whether they’re looking at a floor joint or a wall joint.
- Photograph with a reference. A quarter, a tape measure, or a sheet of paper on the floor next to the problem area gives scale. It seems minor until someone is arguing about whether the crack is a hairline or a 1/4-inch gap.
- Note the days. Add the date on every photo. If the problem is getting worse over time, a dated photo series shows that progression clearly.
- Write it down. Describe what you see, when you first noticed it, whether it has gotten worse, whether the area has been wet, and what’s directly below that bathroom. Include whether the work was recently done and by whom.
- Keep the paper trail. Save your original invoice, your contract, any emails or texts with the contractor, and the product specs on tile and fixtures. Every one of these gives the person standing in your bathroom the information to diagnose and give you a real answer.
- Track the moisture if you can. A cheap moisture meter from any hardware store gives a number that’s much harder for a contractor to wave away than “it feels damp.”
In our experience, a homeowner who calls with dated photos, a written description, and the original invoice is in a completely different position than someone who says “the floor seems soft.” The first has a diagnosis. The second has a conversation about feelings. We’d rather get the first call.
What a Written Workmanship Guarantee Should Cover
A workmanship guarantee should spell out what’s covered, for how long, and what’s excluded – in writing, before work starts. When a guarantee uses the word “settling” without defining it, the homeowner should ask for the definition in writing before signing anything.
Here’s what each of the four failure types should mean for a guarantee:
- Substrate failure. A written guarantee should promise that if the substrate fails under normal use and proper maintenance within the guarantee period, the contractor returns and rebuilds the assembly at no charge. A “cosmetic cracks only” exclusion doesn’t cover substrate failure – those are different categories, and a good guarantee says so explicitly.
- Waterproofing failure. Every reputable guarantee should cover waterproofing layer failure within a specified period. If a contractor’s guarantee excludes waterproofing entirely, that’s a warning sign. Waterproofing is the whole point of the wet area.
- Movement joint failure. A guarantee should cover improper joint installation – meaning if the contractor failed to install a required flexible joint at a transition or plane change, they should correct that shortfall without charge. They should not be on the hook for cracks in joints the homeowner damaged mechanically (a dropped object, rough scrubbing), and a fair guarantee says as much.
- Rough-in error. Plumbing rough-in errors visible after fixture installation are a workmanship failure. A guarantee should cover labor to correct them without charge. The manufacturer warranty covers the fixture; the workmanship guarantee covers the installation.
What “normal settling” exclusions actually mean: “Normal settling” should be defined in the contract with a specific scope – for example, hairline surface cracks in grout within a defined area, not cracks in structural joints, not caulk-line separation at every transition, and not a gap that’s growing visibly over time. A guarantee that defines “settling” so broadly that it excuses any crack anywhere is not a guarantee. It’s decoration.
Bradford Remodeling Sunrise Manor backs every completed bathroom project with the 365-Day Done Right Promise: if the work doesn’t hold within a full year, we return and correct it at no charge. What’s in writing from the first estimate includes exactly what the guarantee covers, so you’re never guessing what “settling” means after the fact. Giving the price in dollars before work starts, not “call for a quote,” is part of the same approach. The bathroom remodeling in Sunrise Manor page lays out what a full project involves when it’s built right the first time.
Common Mistakes to Avoid
- Re-grouting a movement joint instead of resealing it. Grout in a joint that flexes will crack again. Fix the product in the joint, not just the gap in it.
- Calling waterproofing staining “hard water.” Efflorescence looks like mineral deposits but comes from moisture traveling through the wall. Cleaning the surface doesn’t stop the source – every homeowner in Sunrise Manor who’s dealt with hard water knows the difference, and this isn’t it.
- Ignoring a soft floor because the toilet still flushes. The flush tells you water is moving; it doesn’t tell you the subfloor is intact. Soft means water reached the structure, and it needs attention now.
- Accepting a guarantee that uses “settling” without a written definition. If the contract excludes “settling” without defining it, the exclusion can be stretched to cover any crack. Get the definition before you sign.
- Calling a contractor before you’ve documented. Walk in to a call without photos, dates, and your original invoice and you’re negotiating with less information than the person across from you.
- Choosing the cheapest bid on a waterproofing rebuild. A rebuild that skips a step looks fine on day one and fails in month eight. The money spent on a proper rebuild is cheaper than the second rebuild.
- Skipping permits on rough-in work. If plumbing was moved without an inspection, you own the result if it fails. In Sunrise Manor, plumbing changes in a bathroom are permitted work for exactly this reason.
See the difference
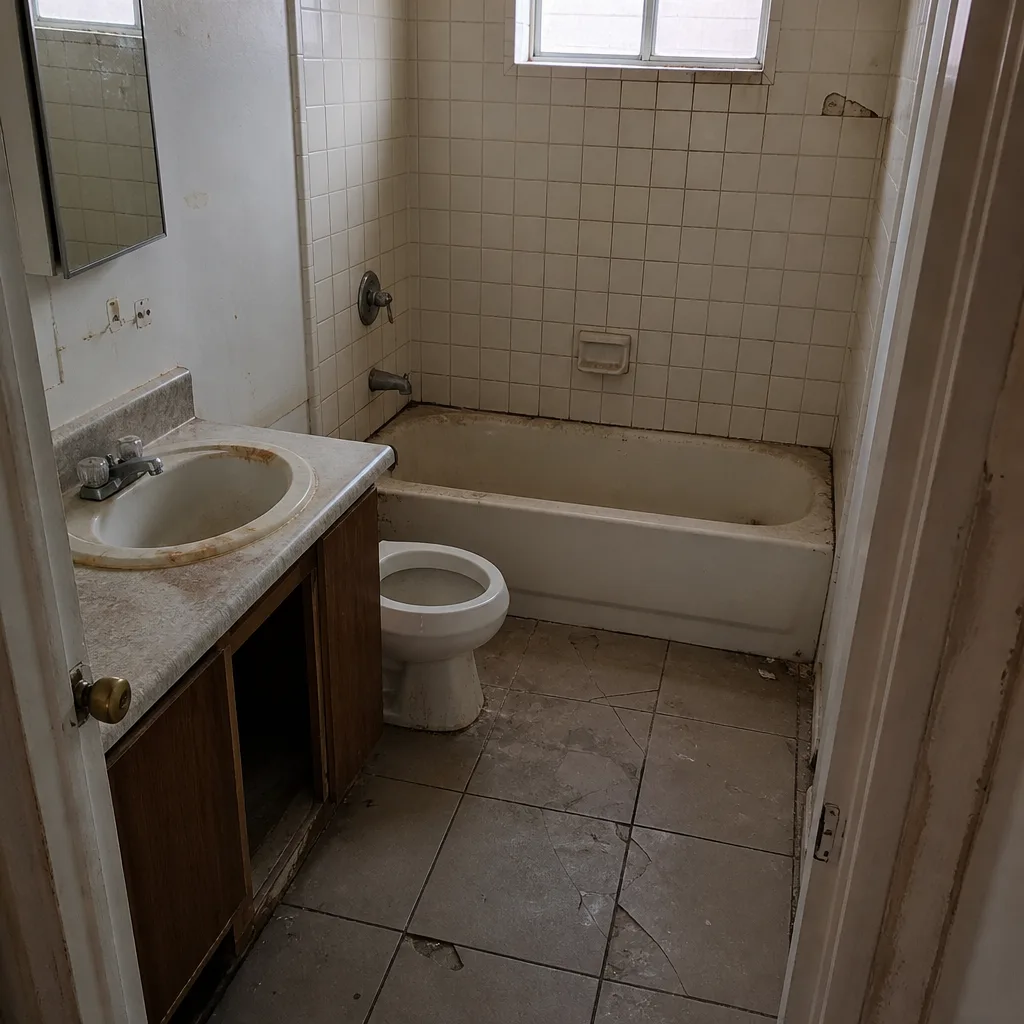 Before
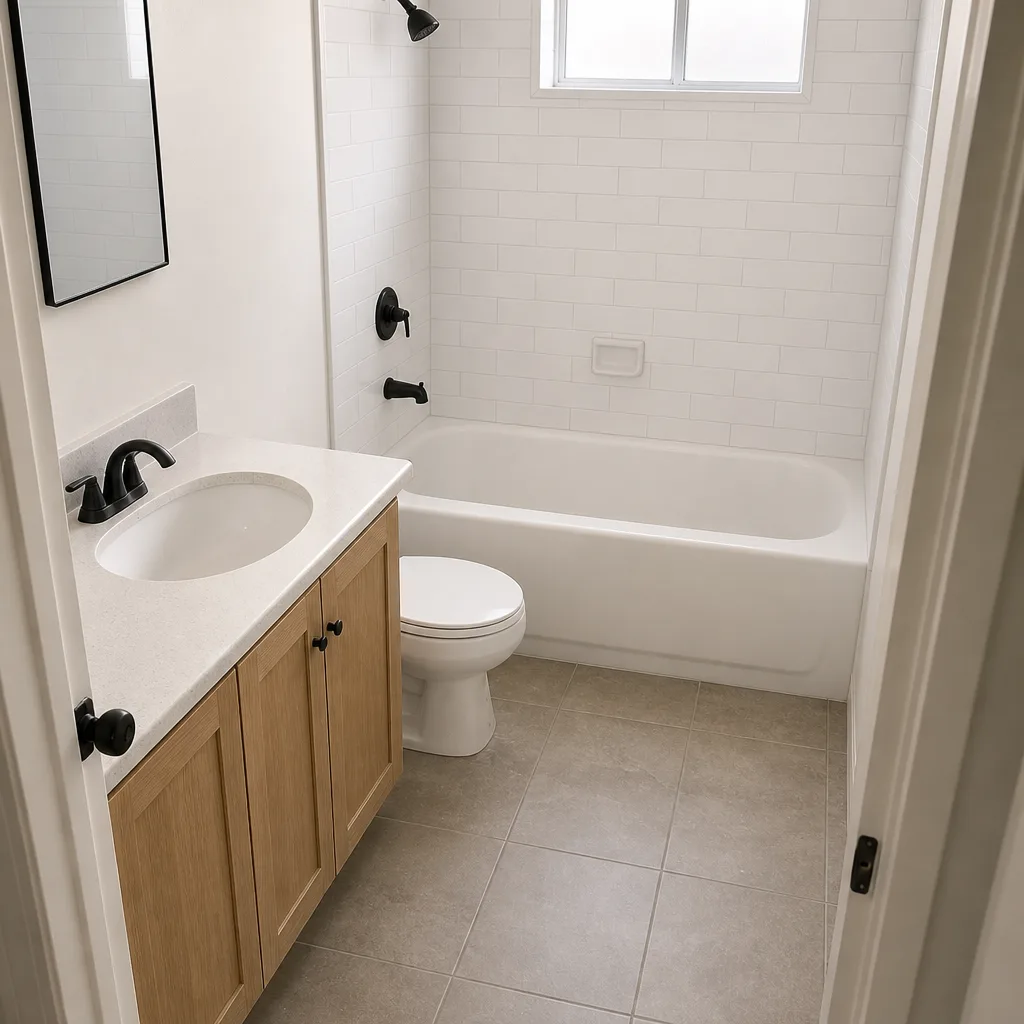 After
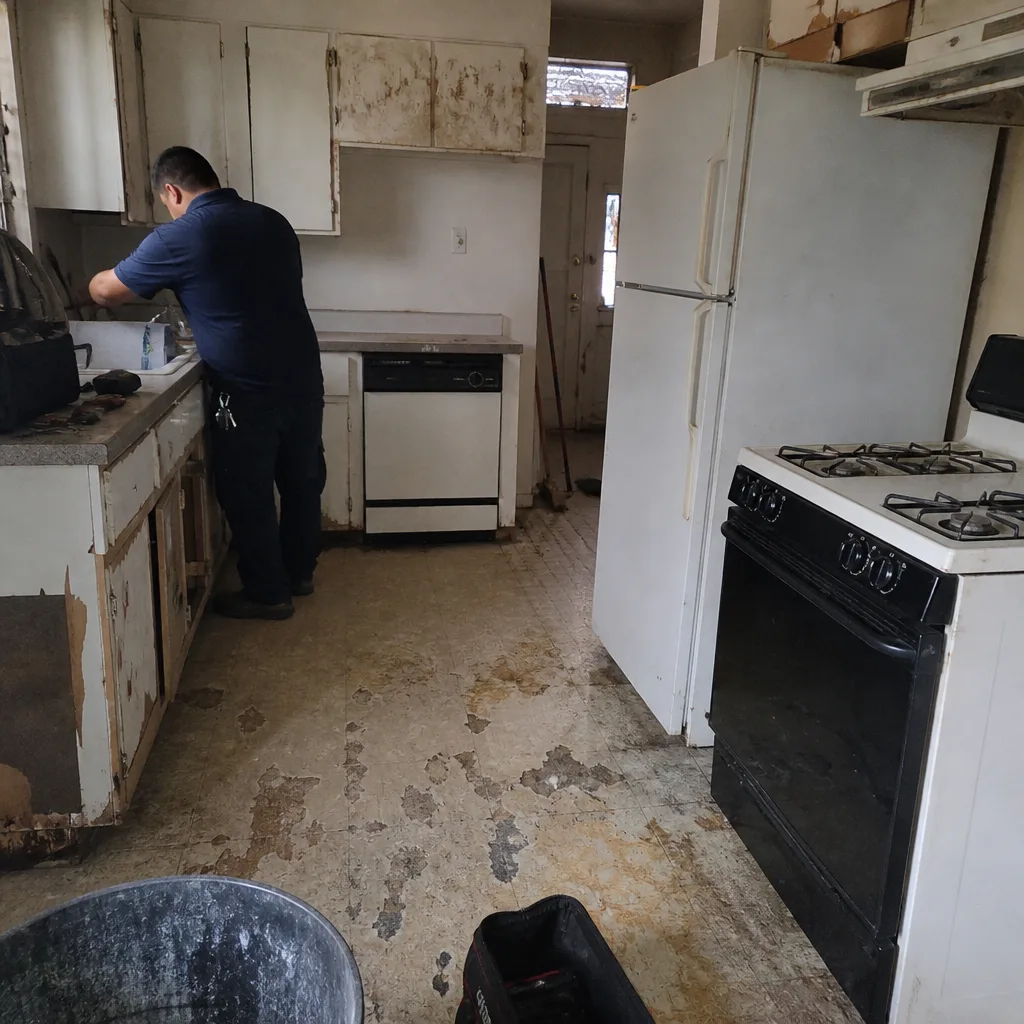 Before
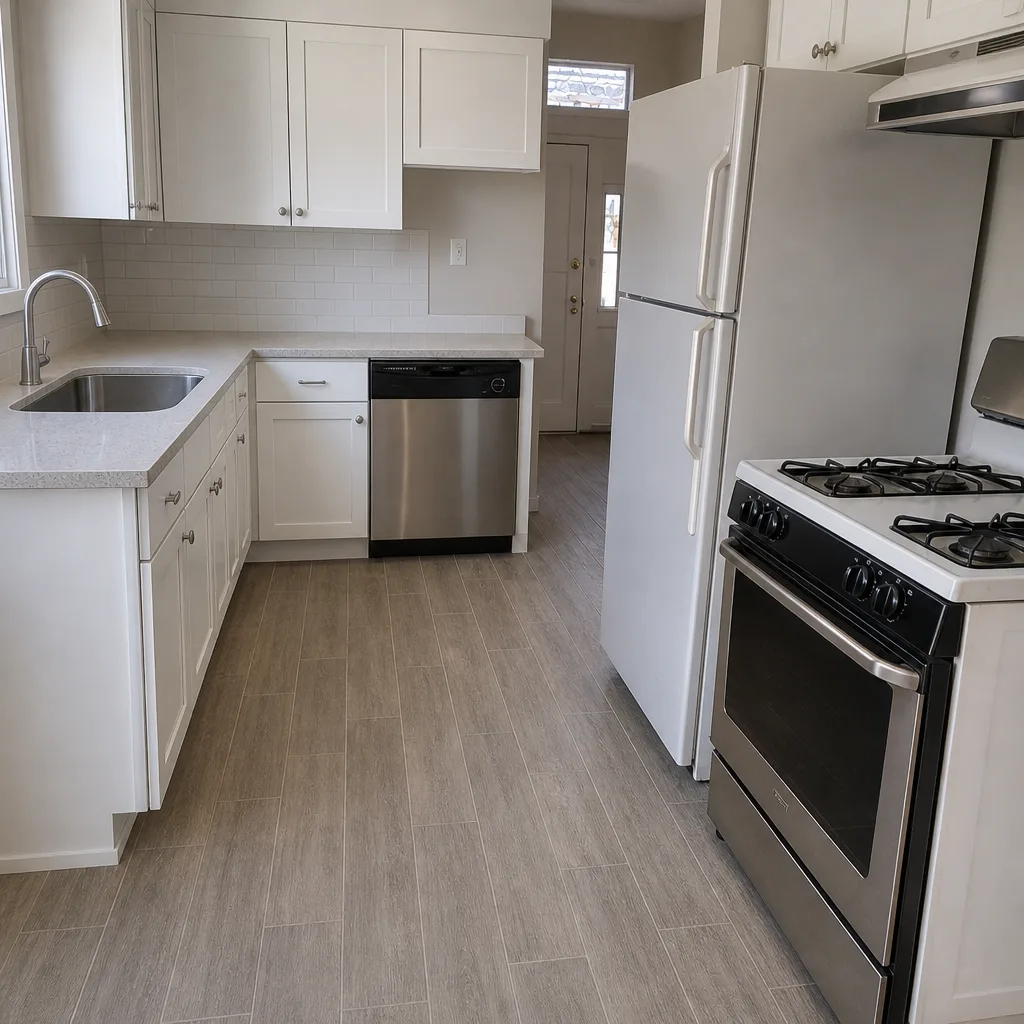 After
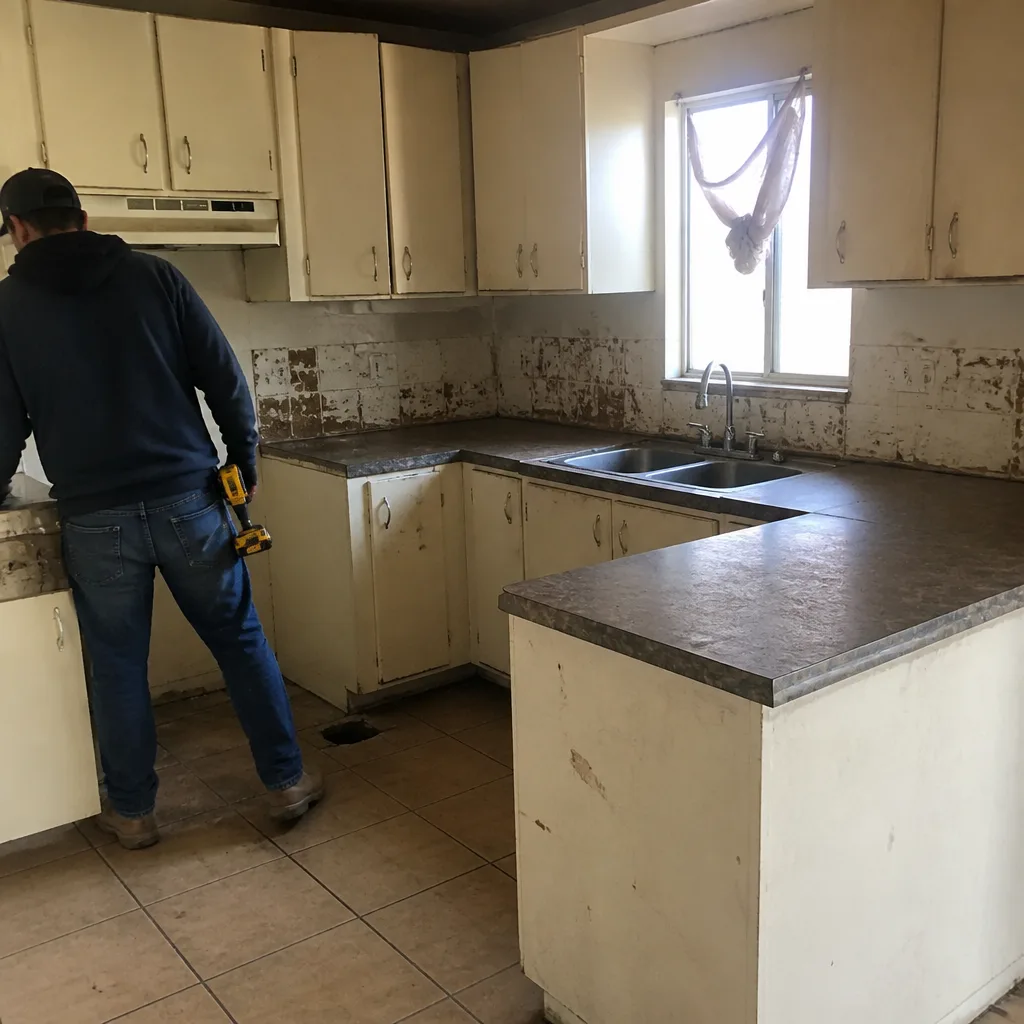 Before
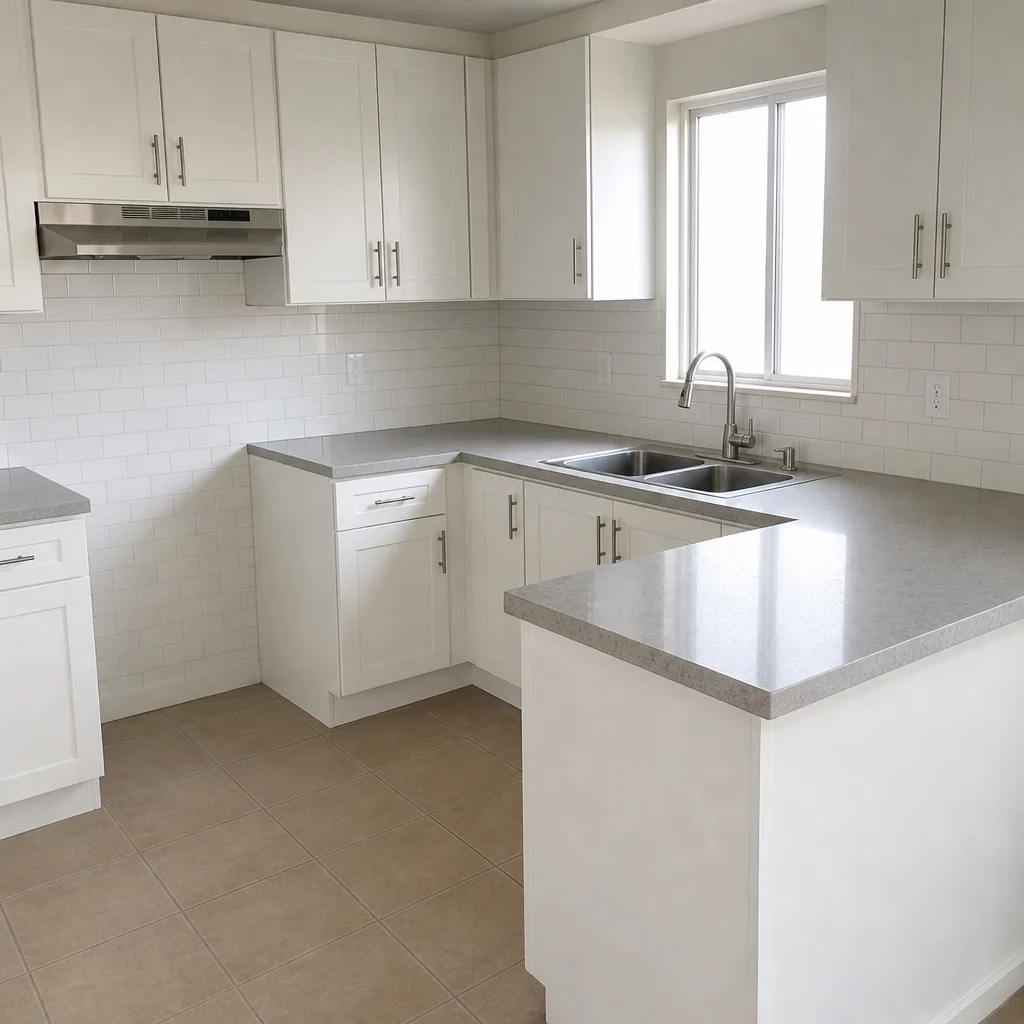 After
When to Call a Professional
Some of what’s covered here can be handled by a careful homeowner with the right materials – a flexible sealant in a movement joint is a genuinely doable repair. But call a professional when the symptoms point to the structural layers: soft or spongy floor around the toilet, hollow-sounding tile across a wide area, water staining at the ceiling below, a rocking toilet, or a shower pan that pools water instead of draining. Those aren’t cosmetic repairs, and the first step of fixing them correctly is diagnosing them correctly. If you can’t confirm the work was permitted and inspected, that’s also worth a professional assessment before you spend on repairs that won’t last.
Bradford Remodeling Sunrise Manor offers free estimates in Sunrise Manor – call (844) 834-2810. We give you a written price before work begins, background-checked technicians, and a written guarantee with defined terms. Our technicians have up to 22 years of experience, and we pull permits on the work that requires them.
Frequently Asked Questions
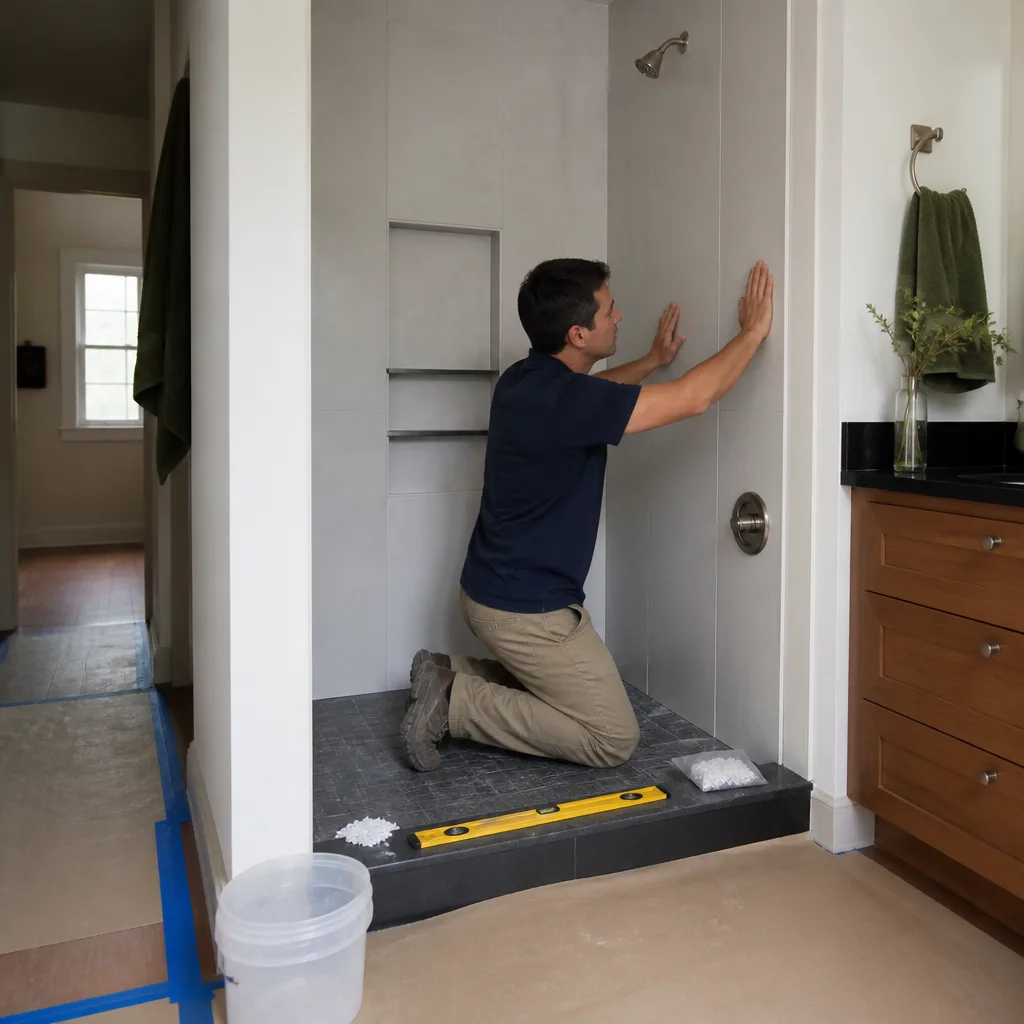
Tap the tiles around the crack with the handle of a screwdriver. A hollow sound or any perceptible give underfoot means the tile has lost bond with the substrate – structural. A crack confined to a corner or transition joint with solid tiles nearby is a movement joint issue. If in doubt, photograph it, note the location, and call for an assessment. Call (844) 834-2810 for a free estimate – it’s worth knowing what you’re dealing with.
Because the joint needs flexible sealant, not grout. Any joint where two surfaces meet at a different angle or material – wall-to-floor, wall-to-tub, corner-to-corner – needs a flexible material that can move with the assembly. Grout cracks because it’s rigid. Removing the grout completely and installing flexible sealant rated for wet areas fixes the recurring crack in one repair.
Not an emergency in the “call at midnight” sense, but not something to defer either. Soft flooring means water has reached the subfloor and the wood is losing strength. It will get worse with continued use, can expand under the vanity or into wall framing, and can make the toilet unstable. Call (844) 834-2810 to schedule an assessment rather than wait until the toilet rocks.
It depends entirely on how the guarantee defines it, which is the point. A fair guarantee defines “settling” narrowly – for example, hairline surface grout cracks that don’t widen and don’t follow a seam – and explicitly does not cover substrate failure, waterproofing failure, or cracks at every transition. Ask any contractor to put the definition in the contract before you sign. If they won’t, that tells you something.
No, and no reputable contractor should try to explain it in a paragraph. Waterproofing failure means the barrier behind the tile has failed, and correcting it requires removing tile and rebuilding the assembly with proper membrane work. A patch from the surface does nothing. This is a job for a trained installer, and it’s one where doing it twice is much more expensive than doing it once. Call (844) 834-2810 for a free estimate on the repair.
Plumbing, electrical, and structural changes require permits; cosmetic work like replacing tile over existing sound substrate typically does not. Because we can’t put a specific permit threshold in a guide that applies to every project, the reliable answer is: the work that requires inspections is work that could hurt the home or homeowner if done wrong. If you’re unsure, ask. A contractor who pulls permits and passes inspections will answer that question plainly. For a full project scope including kitchen work, see kitchen remodeling in Sunrise Manor.
The Bottom Line
Every bathroom problem in this guide points back to the same four causes: substrate failure, waterproofing failure, movement joint omission, or fixture rough-in error. The symptom is the symptom. The cause is what determines the repair. Diagnose first – use the tap test, follow the crack patterns, check for efflorescence and soft flooring – then document what you found with dated photos and a written description. That documentation is your leverage when you call, and it’s what makes the guarantee conversation productive.
A written estimate with a real number, a written workmanship guarantee with defined exclusions, and a licensed contractor who pulls permits are the three things that prevent most of the troubleshooting in this guide. That’s the standard we work to at Bradford Remodeling Sunrise Manor. If you’re dealing with an installation problem, we can help you figure out what’s behind it. Call (844) 834-2810 for a free estimate. Every project we complete carries the 365-Day Done Right Promise in writing. For a broader view of what we do, our general contractor work in Sunrise Manor is a good starting point – and for the full scope of what a correctly built project looks like here, see our home page for Bradford Remodeling Sunrise Manor.
Written by the team at Bradford Remodeling Sunrise Manor.