Last updated November 17, 2026






Free written scope consultation - allowances, timeline, and change-order rules on paper before a single trade is scheduled
Kitchen Remodeling Troubleshooting: Common Problems and How to Fix Them
Cabinet doors that won’t align six months after installation are rarely a hinge problem. They’re usually a wall that wasn’t plumb when the cabinets went up. If the installer hid the gap with scribe molding instead of furring out the wall, you’ll be shimming and re-hanging doors for as long as you own the kitchen. We’ve seen this pattern repeat across Sunrise Manor remodels: the finish work gets blamed for a rough-in decision made weeks earlier. This guide diagnoses the five problems we get called back on most often, traces each to its upstream cause, and tells you who to call and what to ask for. The goal is simple – know the cause before you spend another dollar.
Quick Answer
Most post-completion kitchen problems trace back to a specific trade decision made during rough-in, not to the finish material you can see. Countertop cracks come from seam, stress, or thermal failures; GFCI trips point to wiring faults, not bad outlets; grout cracks at the backsplash joint happen because that joint should be caulk, not grout. Diagnose the upstream cause first, then assign the fix to the right trade.
Styles & brands we work with
- Kitchen remodeling
- Bathroom remodeling
- Home additions & ADU
- Roofing
- Windows & doors
- Driveway & pavers
- Fence
Table of Contents
- Why did my countertop crack after installation?
- Why does my kitchen GFCI keep tripping?
- Why is the grout cracking where the backsplash meets the counter?
- Why are my cabinets racking and doors misaligning?
- Why isn’t my range hood exhausting properly?
- Who do I call for each problem?
- Common mistakes to avoid
- Frequently asked questions
Why Did My Countertop Crack After Installation?
Not all countertop cracks are the same, and the warranty language that covers each one is different. In Sunrise Manor, where summer slab temperatures routinely climb past 110°F and the indoor humidity drops into the single digits, we see three distinct crack types – and each has its own upstream cause. Identify the type before you call anyone back, because the wrong trade will charge you for a fix that doesn’t hold.
Seam failure. A crack that runs along the joint where two slabs meet is an installer issue. The seam adhesive failed, the slabs weren’t supported underneath at the joint, or the color-match epoxy was applied too cold. Most fabricators warranty seams for one year. Ask the installer to re-glue and re-polish the seam, and confirm the substrate (the plywood or MDF deck the slab sits on) is continuous under the joint.
Stress crack over a cabinet gap. If the crack runs perpendicular to the cabinet line and sits directly above a gap between two cabinet boxes, the slab is spanning air. Stone can’t flex. A gap of even a quarter inch between boxes transfers all the load to the countertop, and thermal cycling will finish the job within one or two seasons. This is a structural support issue. The fix is to add blocking or a continuous substrate under the span, not to patch the stone.
Thermal crack near the range. A hairline crack radiating from the cutout for a cooktop or slide-in range usually means the material spec didn’t account for heat. Quartz composites like Cambria and Caesarstone handle ambient heat well but can crack when a hot pan sits directly on the surface or when the cutout edge wasn’t eased. Granite is more forgiving of localized heat. If you have a thermal crack within the first year and no impact damage is visible, the material specification or the cutout fabrication is the upstream cause.
Why Does My Kitchen GFCI Keep Tripping?
A GFCI that trips only under load is almost never a defective outlet. It’s a wiring fault signaling through the outlet. Kitchen circuits in Sunrise Manor carry more load than most rooms in the house – fridge, microwave, dishwasher, disposal, and small appliances all pulling off a handful of circuits. A GFCI that trips when the microwave runs but holds steady when nothing’s on is telling you the neutral path is compromised somewhere upstream.
Here’s how to narrow it down before a licensed electrician arrives:
- Isolate the trigger. Unplug everything from the GFCI and downstream outlets. Reset the GFCI. If it holds, plug appliances back in one at a time until it trips. That tells the electrician which load is drawing the fault.
- Check the downstream outlets. A GFCI protects every outlet wired through it. If an outdoor or garage outlet is on the same run and gets moisture, the whole circuit trips indoors. Trace the run and check for outlets on exterior walls.
- Look for a shared neutral. If the electrician finds a shared neutral between two circuits (a common rough-in error when a kitchen was rewired or expanded), the GFCI sees current leaving and returning on different paths. It reads that as a ground fault and trips. This is a wiring error, not a bad outlet.
- Suspect moisture in a junction box. If the wall behind the tile hides a junction box near a sink or dishwasher, a slow leak or condensation can push moisture into the box. The GFCI trips intermittently, often during or right after a shower, dishwasher cycle, or rain event.
If the electrician’s meter reads a fault on the neutral-to-ground side under load, the fix is a wiring correction, not a replacement outlet. Don’t let anyone sell you a new GFCI before the circuit has been tested.
Why Is the Grout Cracking Where the Backsplash Meets the Counter?
That joint should never have been grouted in the first place. The backsplash-to-counter junction is a change-of-plane joint, and grout is rigid – it cracks when the two surfaces move in different directions. In southern Nevada, the thermal swing between a 60°F winter morning and a 75°F mid-afternoon kitchen is enough to move the counter a fraction of a millimeter. Compound that over one summer and the grout line opens up every time.
The correct fix is to remove the grout and replace it with a flexible caulk specified for the joint. Commercial-grade silicone caulk formulated for interior wet areas is the standard, but not all silicone is created equal in this climate. Look for a caulk rated for high-temperature cycling and with a stated movement capability (typically ±25%). A general-purpose painter’s caulk will fail within a year in Sunrise Manor’s dry heat.
When the joint is re-caulked, the installer should:
- Dig out the old grout completely – not just the top layer.
- Clean the joint with denatured alcohol and let it dry fully.
- Apply backer rod if the joint is deeper than a quarter inch, so the caulk has something to grip.
- Lay a smooth bead and tool it with a caulk tool, not a wet finger, so the caulk cures with the right profile.
Skip any of these steps and the new caulk fails on the same schedule as the old grout. The joint should be re-inspected at the one-year mark, especially if the kitchen sits over an unconditioned space like a garage or crawl space.
Why Are My Cabinets Racking and Doors Misaligning?
Racking means the cabinet box has twisted out of square. The doors won’t sit flush because the box moved, not because the hinges are bad. Three things cause racking, and each has a different repair.
Cause one – the wall isn’t plumb. Over an eight-foot run, a wall can be out of plumb by an inch or more in older Sunrise Manor homes built on slab. If the installer used scribe molding (a thin trim strip) to hide the gap between the cabinet back and the wall instead of furring the wall out flat, the cabinet is hung against a curve. Every door drags. The fix is to remove the cabinets, fir out the wall with shims and a plywood strip so it’s plumb and flat, then re-hang. That’s a full removal and re-install.
Cause two – the floor isn’t level. On a slab, an uneven floor transfers uneven load up through the cabinet boxes. If the base cabinets were set on the slab without adjustable leveling legs or a leveled ledger, the boxes settle unevenly and rack. The fix is to pull the base units, install leveling legs or shim the toe-kick line, and re-level the run before the counter goes back on.
Cause three – the box itself is defective. Occasionally, a cabinet box is out of square from the factory. Check it by measuring diagonals on the box face – if the two diagonals differ by more than an eighth inch, the box is warped. That’s a manufacturer warranty claim, and premium cabinet lines like KraftMaid and Wellborn are generally responsive. The fix is a replacement box, not shimming.
Diagnostic order matters: check the wall, then the floor, then the box. Diagnose in that order and you’ll assign the fix correctly the first time.
Why Isn’t My Range Hood Exhausting Properly?
Most “broken” range hoods are recirculating. That means they filter smoke and steam through a charcoal filter and blow it back into the kitchen, which does nothing for moisture or grease. In our Sunrise Manor remodels, we find recirculation setups in about a third of the kitchens we open up, especially in homes where an electric cooktop was swapped for gas without a ducting upgrade.
You can test for it without opening a wall:
- Hold a tissue to the hood’s grille on high speed. If the tissue is pulled flat against the grille, the fan is pulling air.
- Hold a tissue against the hood’s outlet on the wall or ceiling above the cabinet. Airflow there is your exhaust. If there’s no measurable flow at the outlet, the hood is recirculating.
- Smoke test. Boil a quart of water on high heat and watch the steam. A properly vented hood pulls the plume toward the hood and out of the room within ten to twenty seconds. A recirculating hood pushes the plume back into the kitchen, often sideways.
- Listen for constriction. A hood that sounds strained at high speed but barely moves air usually has a ducting bottleneck – the wrong diameter, a long run, or too many elbows. A hood rated at 600 CFM routed through a 4-inch duct on a 30-foot run moves roughly 100 CFM in practice because the resistance strangles the fan.
The fix depends on the cause. If the ducting is undersized, correcting it means upgrading to 6-inch or 8-inch round duct, shortening the run, and reducing elbows. That’s a rough-in fix, not a hood replacement. If the duct terminates in the attic instead of through the roof or sidewall, the exhaust is dumping grease and moisture into the attic – a real problem in Sunrise Manor’s dry heat that immediately shows up as attic mold in the cooler months.
Who Do I Call for Each Problem?
Assigning the fix to the right trade is where homeowners lose the most money. Every problem in this guide has a specific upstream cause and a specific trade who owns it. Here’s the mapping we use in Sunrise Manor when we walk a kitchen at the one-year mark.
- Countertop seam failure: the fabricator or stone installer who set the slab. Ask for the seam warranty, in writing.
- Stress crack over a cabinet gap: the general contractor who managed the rough-in and cabinet installation. This is a support failure, not a stone failure.
- Thermal crack near the range: the fabricator first, then the material supplier if the spec is provably wrong for the application.
- GFCI tripping under load: a licensed electrician. Do not accept an outlet swap as the fix without a circuit test first.
- Grout crack at backsplash joint: the tile setter who did the original installation, or a tile pro who will re-caulk correctly.
- Cabinet racking: the installing carpenter – and if the wall or floor is the cause, the general contractor who should have leveled the substrate before hanging.
- Range hood recirculating: the HVAC or kitchen contractor who spec’d and installed the venting.
One trade crossing into another trade’s territory is how these problems get created in the first place. When a stone fabricator sets a slab on a deck someone else built, and nobody checked the deck, the seam holds and the deck fails. If you’re planning a new kitchen from scratch instead of fixing an old one, that sequencing is exactly why we run general contractor oversight in Sunrise Manor under one written scope – the trade-to-trade handoffs stay documented.
Common Mistakes to Avoid
- Replacing the GFCI before testing the circuit. A new outlet on a bad neutral trips on the same schedule. Test the wiring first and you’ll save the cost of a part that was never the problem.
- Grouting the backsplash joint “one more time.” In Sunrise Manor’s thermal swing, that joint fails within a year every time. Caulk, with the right specification, is the only fix that holds.
- Shimming cabinet doors to hide a racked box. Shims on the hinges treat the symptom and leave the box twisted. The doors will drift again within months, and the shims will deform the hinge plates.
- Assuming a large range hood moves air. A 600 CFM hood on undersized ducting moves less air than a 300 CFM unit on proper ducting. Pressure and diameter matter more than the CFM rating on the box.
- Patching a stress crack with epoxy without checking the substrate. A patched crack over the same cabinet gap reopens on the first temperature swing. Support the slab, then patch the stone.
- Calling back the same installer without a written diagnosis. Most callbacks get “fixed” with the same technique that failed the first time. Document the cause before anyone touches the work.
- Skipping a one-year walkthrough. A structured review at month eleven, before the warranty closes, catches the issues this guide describes while they’re still someone else’s liability.
If you’ve already been through a remodel and are chasing callbacks, our kitchen remodeling services in Sunrise Manor include a documented post-completion walkthrough, and the Bradford Remodeling Sunrise Manor home page lays out the warranty terms so you know what’s covered before you call.
See the difference
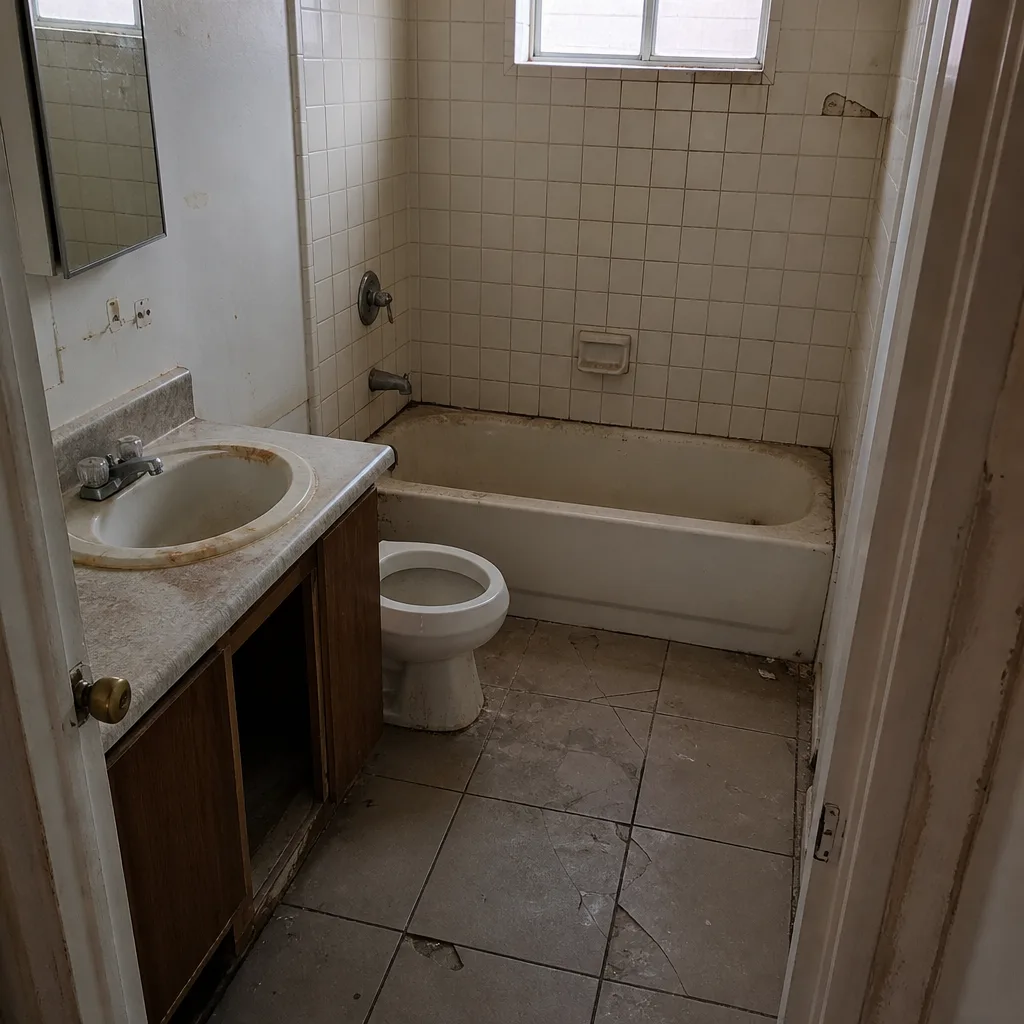 Before
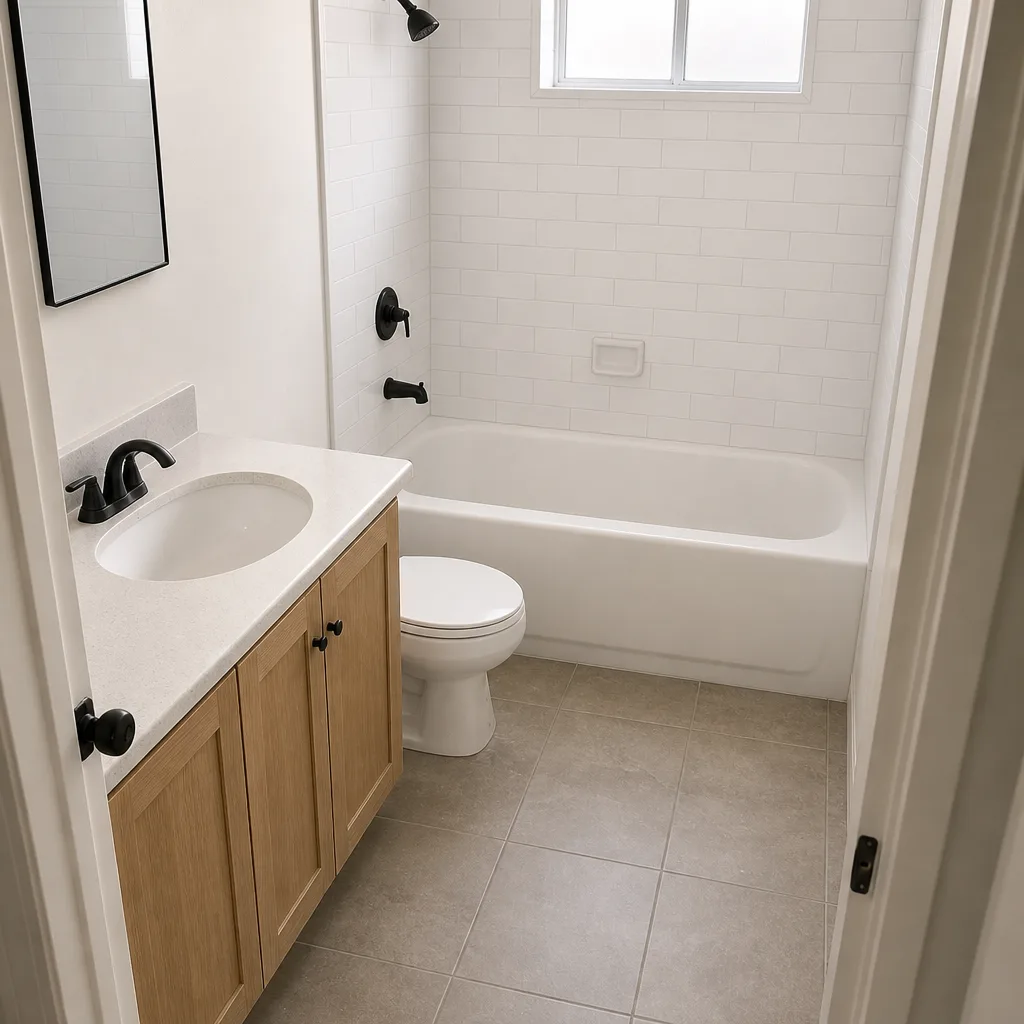 After
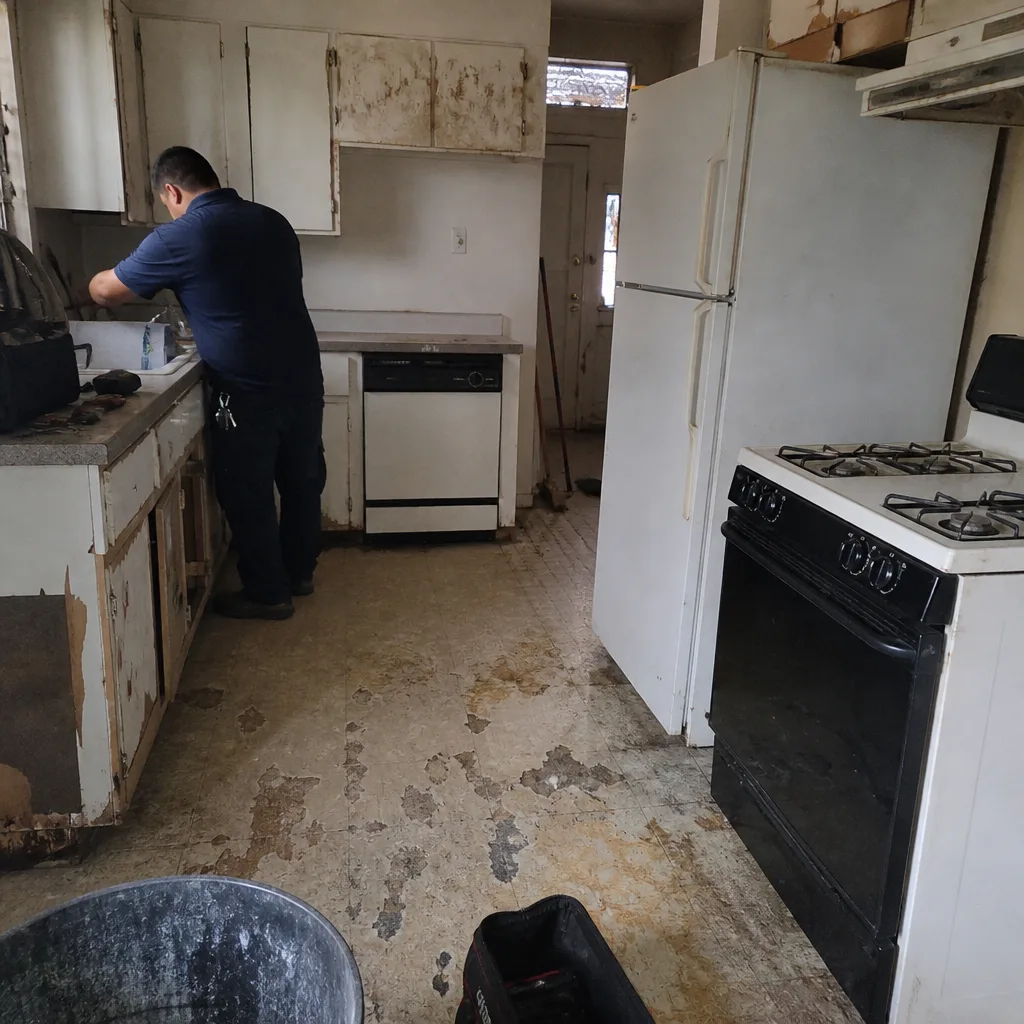 Before
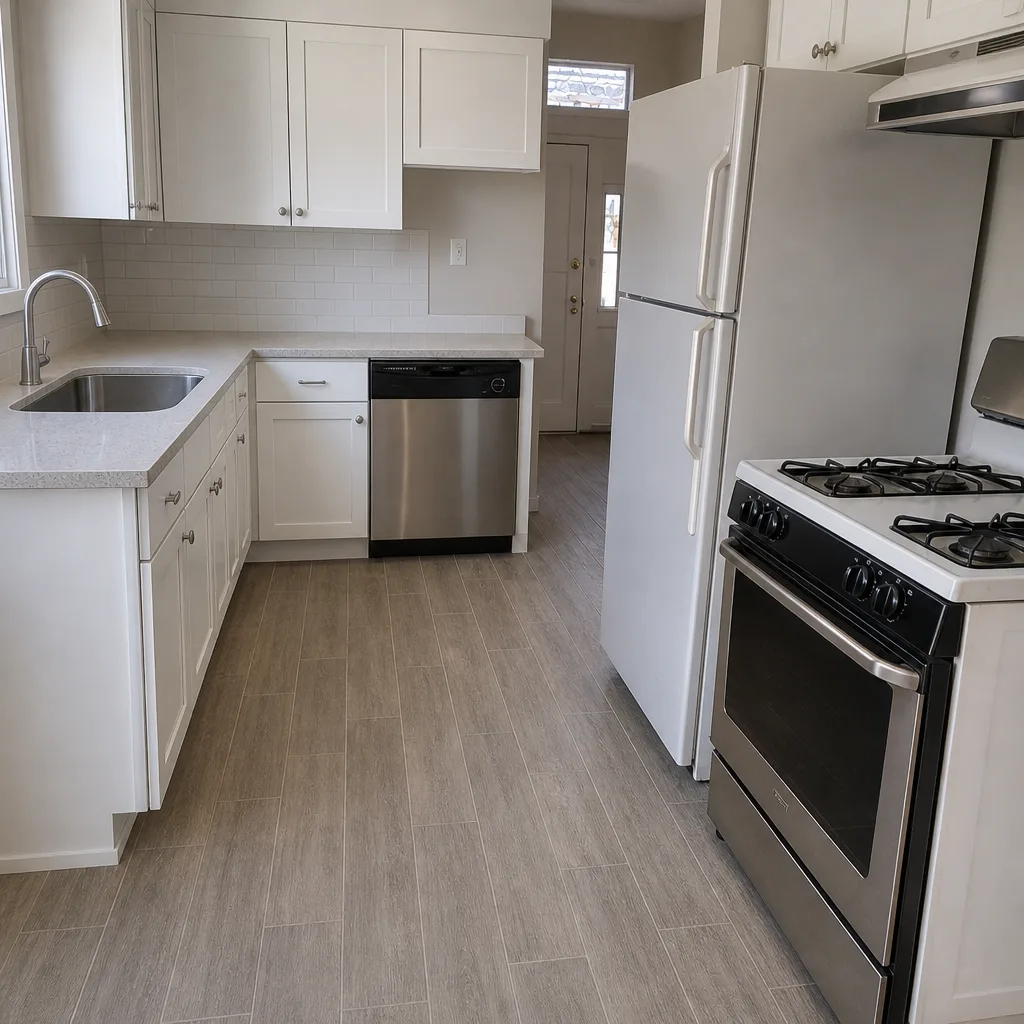 After
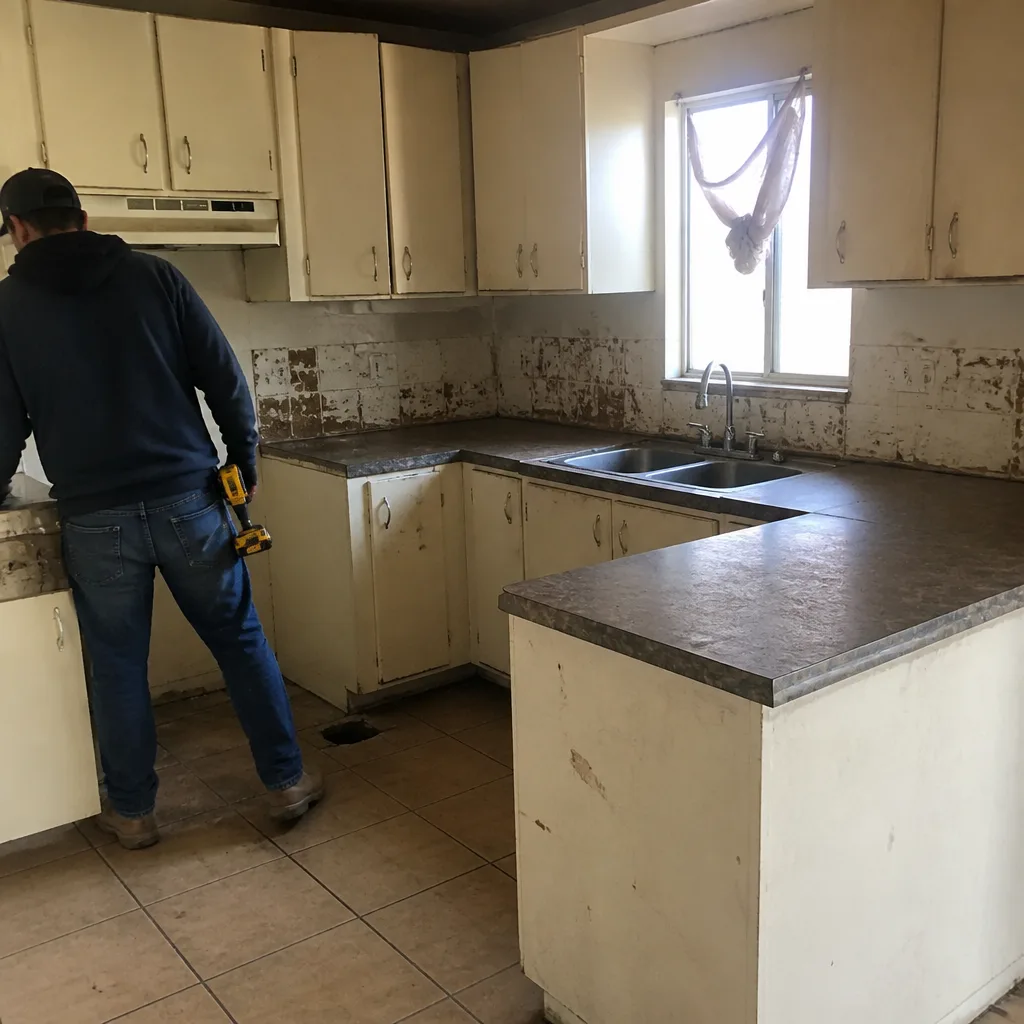 Before
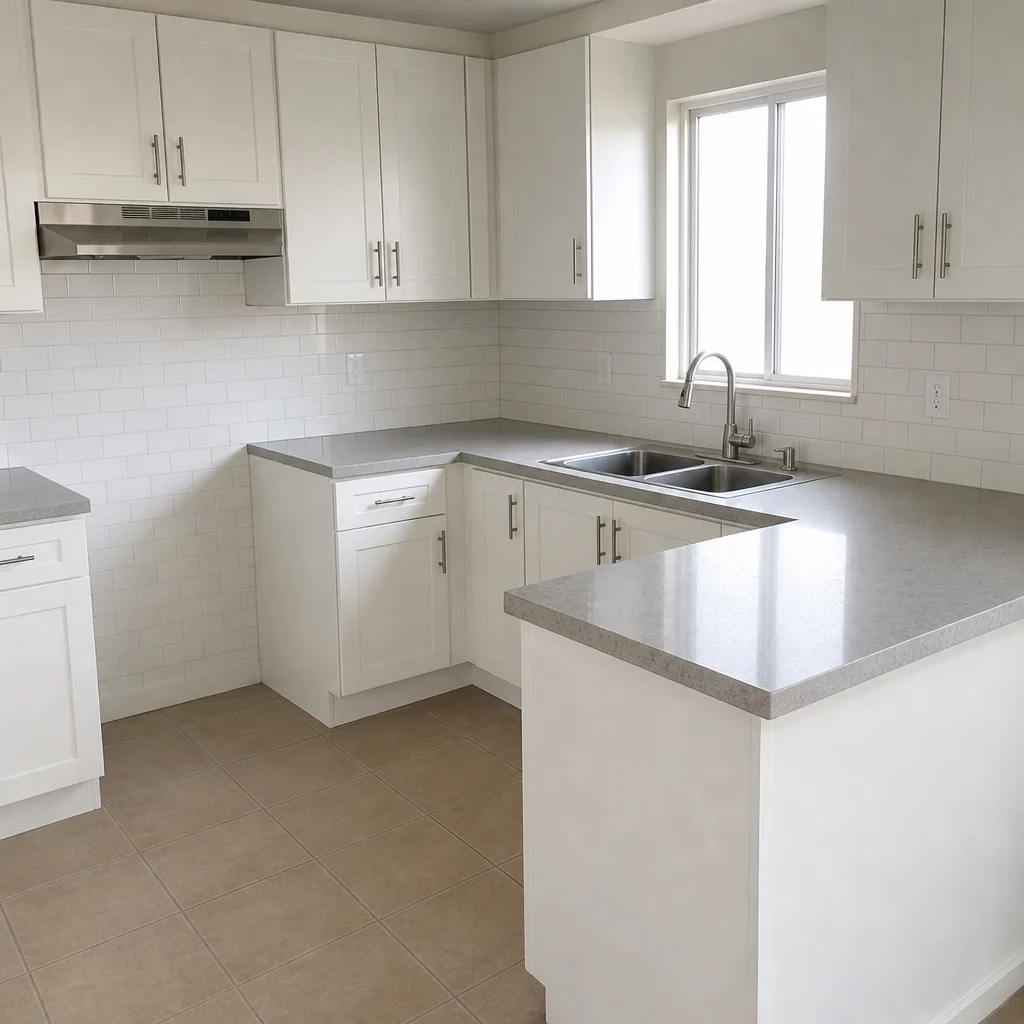 After
When to Call a Professional
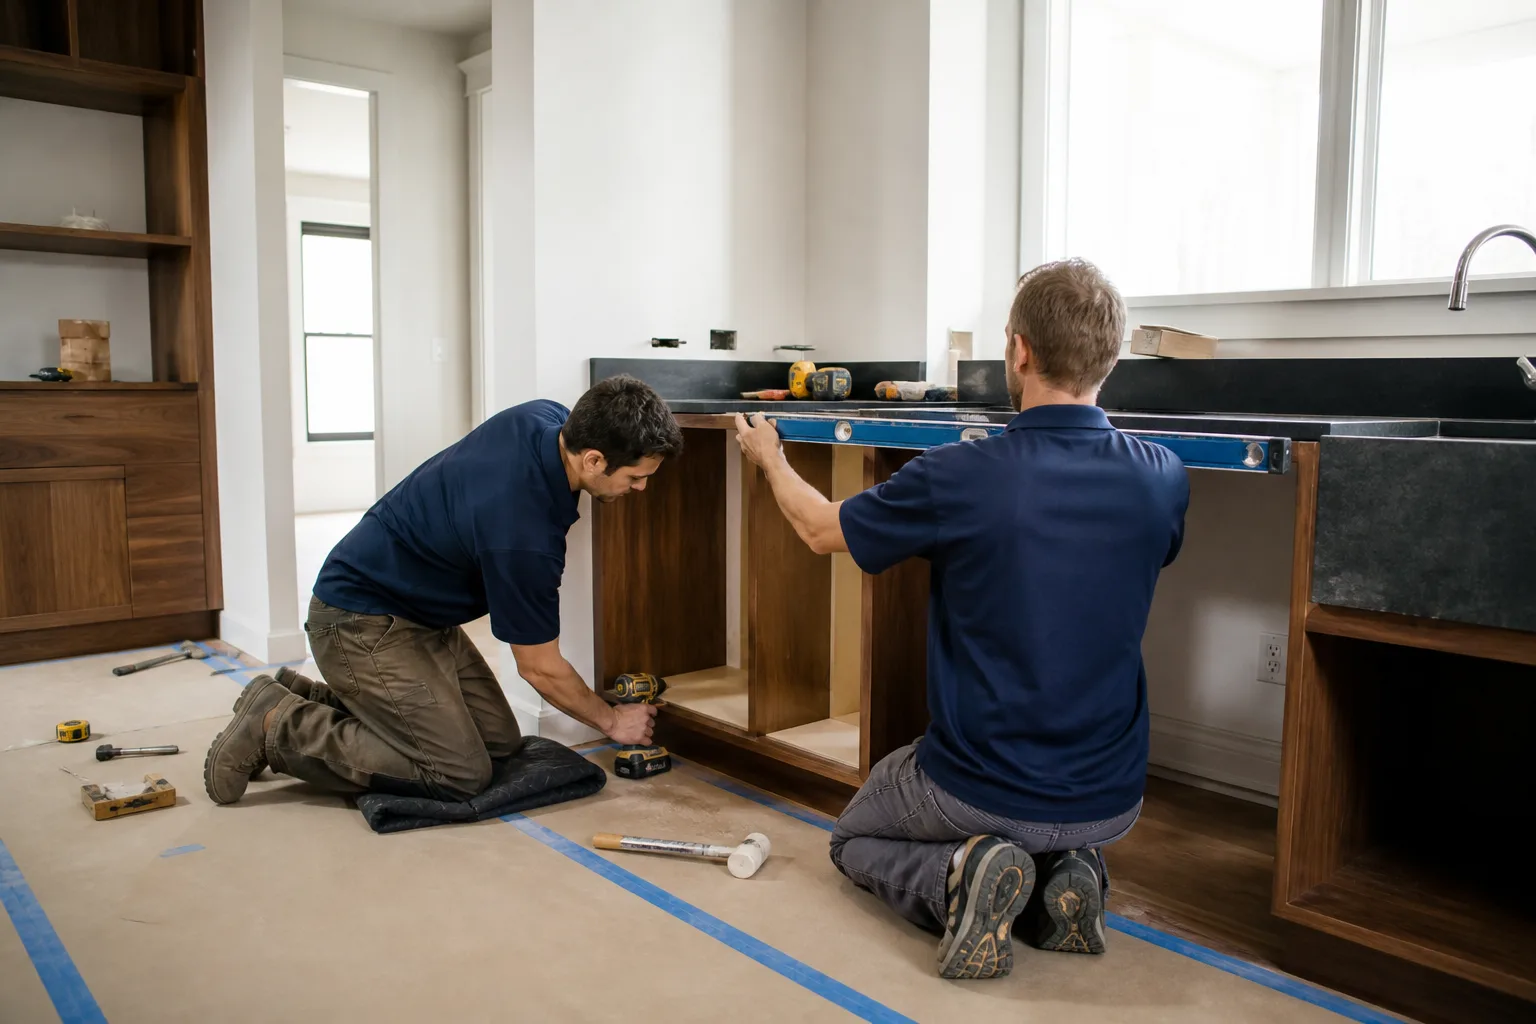
Some of these problems are cosmetic, and some are dangerous. Call a licensed professional immediately for any sign of moisture behind the tile or in a junction box (mold growth, musty smell, or intermittent GFCI trips tied to plumbing), any GFCI that trips under load and doesn’t reset, any electrical smell near a countertop or cooktop outlet, and any exhaust that terminates in an attic or unconditioned space. Those are code issues and safety issues, not cosmetic ones. Cabinet racking, countertop cracks, and grout joint failures aren’t emergencies, but every month you wait, the fix gets more expensive – a re-hung cabinet box is a smaller job today than after the slab has cracked. Bradford Remodeling Sunrise Manor offers free estimates and a documented diagnosis so the fix you’re paying for matches the actual cause. Call (844) 834-2810 to schedule an assessment.
Frequently Asked Questions
A seam re-glue and polish typically runs $150 to $350 depending on stone type. A stress crack repair that requires adding substrate and re-supporting the span can run $400 to $900, since the fix is structural. A full slab replacement on a thermal crack can run $800 to $2,500 depending on the material. Get the diagnosis in writing before any work starts. Call (844) 834-2810 for a free estimate – we write the price before the work begins.
Not without your written approval. Bradford Remodeling works on The Garrison Standard, which puts every price and every guarantee in writing before a single tool comes out. If a diagnostic uncovers a hidden wiring or substrate problem, we document it and quote the additional work in writing before it proceeds. No numbers that move at the door.
Any repair that touches electrical wiring, gas lines, or structural framing needs a permit in Clark County. Cosmetic repairs like grout-to-caulk conversion and cabinet re-hanging don’t require one. We identify which category applies during the diagnostic and handle permit applications where required. Repairs under a documented scope may not need a permit, but we never skip one to save a step.
Grout joint re-caulking is typically a half-day. A GFCI circuit correction is usually one visit for the electrician if the cause is a wiring error. Cabinet re-hanging and re-leveling usually takes one to two days. Countertop seam repairs are often a single visit, while stress crack repairs that involve substrate work can run two days. We schedule the work once and complete it before the warranty clock starts.
No. Manufacturers’ cabinet boxes occasionally ship out of square, and premium lines like KraftMaid and Wellborn generally honor the warranty on that. Measure the diagonals on the box face – if they differ by more than an eighth inch, it’s the box. If the diagonals match, it’s the wall, the floor, or the hang, and that’s on the installer.
Every completed project carries a full-year written guarantee. If the work fails inside that window – a seam that reopens, a caulk joint that cracks again, a cabinet that racks after re-leveling – Bradford returns and corrects it at no charge. The exact scope is written into the guarantee document before work starts. That document is in your hand at job close, along with the signed scope and the clean site. Free estimates in Sunrise Manor – call (844) 834-2810.
The Bottom Line
Kitchen remodeling problems after completion almost always have an upstream cause. Seam failures are the installer, stress cracks are the substrate, thermal cracks are the spec. GFCI trips under load are wiring faults, not bad outlets. Grout at the backsplash joint fails because it should have been caulk. Racking means the wall, the floor, or the box – diagnose in that order. Recirculating hoods need ducting, not new hoods. Assign every fix to the right trade, get the diagnosis in writing, and the repair holds. For planning the original build correctly, see our bathroom remodeling services in Sunrise Manor for the same rough-in discipline applied to a second trade-heavy room. For the full picture of how we sequence a renovation, start with the Bradford Remodeling Sunrise Manor home page. Call (844) 834-2810 for a free estimate – a live person answers the phone, and the written price comes before any work starts.
Written by the team at Bradford Remodeling Sunrise Manor.